-
Shop
- Advanced Technologies
- Beauty
- Best-Sellers
- Car Accessories
- Dating & Social Skills
- Digital Resources
- AI & Technology
- AI Skills
- Car Buying & Ownership
- Cozy Feast Collection
- Electronics & Technology
- Emotional Intelligence
- Financial Education
- Hobbies
- Home Styling & Organization
- Kitchen & Recipes
- Mindfulness
- Mindset
- Online Business
- Parenting & Child Development
- Pet Lifestyle & Wellness
- Positive Thinking
- Productivity
- Self Confidence
- Sleep Improvement
- Smart Life with AI
- Stress Management & Relaxation
- Travel Planning
- Yoga & Fitness
- Yoga & Mind-Body Practices
- Education & Learning
- Family & Parenting
- Fashion
- Fashion Accessories
- Furniture
- Gadgets
- Health & Beauty
- Health & Wellness
- Home & Garden
- Home Supplies
- Kids & Babies
- Kitchen
- Lighting
- Patio, Lawn & Garden
- Personal Growth
- Personal Style & Fashion
- Pet Care
- Pet Supplies
- Pets
- Sport & Outdoors
- Super Deals
- TikTok Growth & Monetization Mastery
- Travel
- Wealth
- Wealth Building
- Budgeting & Saving
- Cryptocurrency Investing
- Debt Management
- Entrepreneurship & Business Growth
- Family Finance & Budgeting
- Financial Independence
- Financial Mindset & Psychology
- Financial Planning
- Frugal Living & Expense Hacks
- Goal Setting
- High-Income Skills
- Investing Basics
- Leadership
- Motivation
- Networking & Mentorship
- Passive Income Strategies
- Real Estate Investing
- Side Hustles
- Stock Market Investing
- Wellness
- Popular
- Best deals
Urban Sketching for Beginners: One-Line City Scenes
Sketching the City One Line at a Time: A Beginner-Friendly Urban Sketching Guide
Urban sketching turns everyday streets into a sketchbook full of small stories—doorways, rooftops, signage, people, and light. A beginner-friendly way to start is to treat each drawing like a simple build: one line to place the scene, a few more lines to clarify it, and a final pass for shadows and accents. The goal isn’t a perfect drawing; it’s a repeatable method that helps you sketch on location with confidence and improve steadily.
What “one line at a time” means in urban sketching
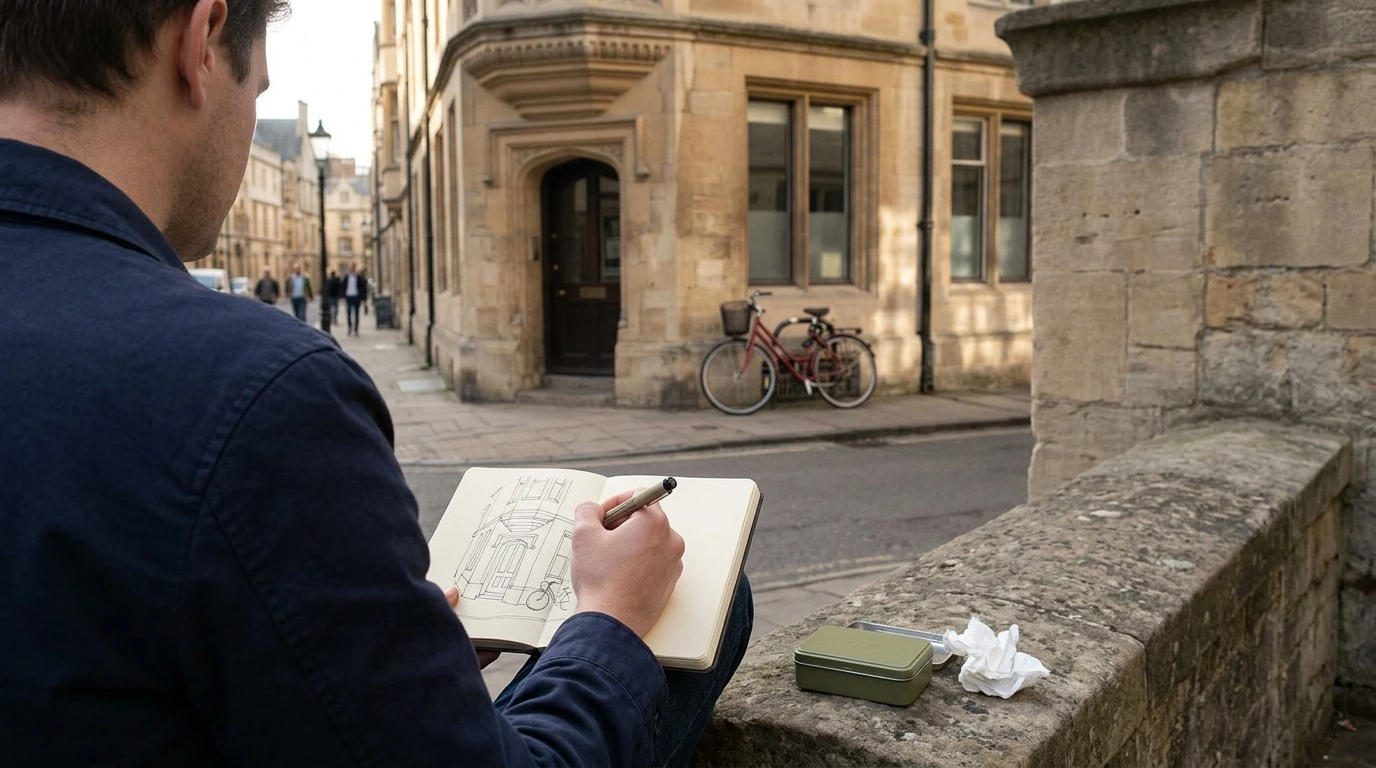
“One line at a time” is a mindset: prioritize careful looking over flawless marks. Start by drawing what you actually see, not what you assume is there—windows rarely align the way the brain “knows” they should.
Begin with a single continuous line to map the overall shape of the subject (a storefront silhouette, a roofline, the curb). Then add additional lines to refine structure. This approach keeps your sketch cohesive because every new detail sits on top of a simple, readable foundation.
Use “anchor points” to hold proportions steady: a building corner, the roof peak, the curb line, or the top of a doorway. If you keep checking these anchors as you add details, the sketch stays believable even if some lines wobble. Wobble, overlap, and corrections are part of the style—clarity comes from structure, not perfection.
A simple field kit that keeps sketching easy
A small, consistent kit removes friction. Fewer choices also help you start faster, which matters when light and people move.
- Sketchbook: A5 or pocket-size encourages quick starts. Choose thicker paper if you plan to add ink wash or light watercolor.
- Pen or pencil: A fineliner gives clean, decisive lines; a mechanical pencil makes corrections easy. One tool is enough to begin.
- Optional tone: A gray marker, brush pen, or tiny watercolor set adds fast shadows and depth.
- Comfort items: A small clip, tissues/paper towel, and a lightweight seat—or simply a wall or rail to lean on.
| Item | Beginner-friendly choice | Why it helps on location |
|---|---|---|
| Sketchbook | A5 mixed-media or drawing paper | Portable size reduces pressure and speeds up starts |
| Main tool | 0.3–0.5 fineliner or mechanical pencil | Clean lines; pencil allows adjustments |
| Tone/shadow | Gray marker or diluted ink wash | Fast depth without heavy rendering |
| Extras | Binder clip + tissues | Prevents page flap; handles smudges and light washes |
Finding an easy subject in a busy city
Busy scenes overwhelm beginners because there’s no clear “start.” Choose a quieter composition: one building corner, a storefront, a bench, or a parked bike. A single subject with a clear silhouette gives you an obvious first line.
Look for a few strong lines you can commit to early—roof edge, curb, window rhythm, or a vertical corner. Then frame aggressively: crop out distractions and let parts of the scene run off the page. This is a powerful trick because it turns a chaotic street into a simple design.
Light matters too. Overcast days simplify shadows and reduce contrast, which can make your first on-location sketches feel more manageable. Late afternoon creates dramatic shadow shapes that are easy to fill as bold tone.
A 10-minute street sketch routine (repeatable anywhere)
This routine keeps you moving forward when you’re unsure what to do next.
- Minute 1: Decide the subject and crop; lightly mark the top, bottom, left, and right boundaries.
- Minutes 2–4: Block in big shapes with straight, confident strokes; place the horizon/eye level early.
- Minutes 5–7: Add defining details (signage, window pattern, door, streetlight) rather than “everything.”
- Minutes 8–9: Drop in shadows as simple, unified shapes; avoid patchy, scattered darks.
- Minute 10: Add one story detail (a plant pot, poster, street name) and stop before overworking.
If you’d like a compact reference designed for quick sessions, Sketching the City One Line at a Time – Beginner-Friendly Urban Sketching Guide with Practical Urban Sketching Tips for Beginners pairs well with this 10-minute format—especially for keeping practice consistent during walks or café stops.
Perspective without panic: three beginner rules
You don’t need complex perspective grids to make a street scene feel solid. Use three rules:
Linework tips that make sketches feel alive
For a grounding philosophy on drawing life as it happens, the Urban Sketchers Manifesto is a helpful reminder that on-location work values honesty and observation over polish.
People, cars, and movement: quick ways to include life
Common beginner blocks and quick fixes
Consistency is often harder than technique. If you enjoy checklists that keep a habit moving, The Ultimate Employee Motivation Checklist: Spark Your Team’s Drive in 7 Easy Steps! can be adapted into a simple personal routine—set a weekly sketch target, track sessions, and reward follow-through.
A beginner-friendly guide to keep nearby while sketching
On-location drawing gets easier when prompts are close at hand. A small guide with step-by-step reminders helps you practice line confidence, basic perspective habits, and simple shading without overthinking—especially when you only have ten minutes. For more background on how drawing tools and methods affect marks on paper, the Metropolitan Museum of Art’s overview of drawing materials and techniques offers useful context.
FAQ
What should a beginner draw first when urban sketching?
Start with one clear subject like a building corner, storefront, or streetlamp. Block in big shapes first, then add a few defining details and a simple shadow shape.
Do you need to know perspective to start urban sketching?
No. Keeping verticals steady, letting most horizontals share a direction, and using overlap and shadow will create believable depth while you learn.
How can sketches look good without lots of detail?
Focus on confident big shapes, vary line weight, and add one or two unified shadow shapes. Choose a single focal detail and simplify everything else.
Recommended for you


Sunburn Recovery Checklist: Fast Relief in 5 Days
Sep 14, 2026













Leave a comment